


Models
| Universal (cm) | Product SKU |
|---|---|
| Finger (13W-15L) | EDUA |

| Pediatric | Velcro | Zipper |
|---|---|---|
| Medium (10.4cm - 16.6cm) | TBPPV-02 | TBPPZ-02 |
| Large (12.8cm - 20.5cm) | TBPPV-03 | TBPPZ-03 |
| Adult | Velcro | Zipper |
|---|---|---|
| Small (15.2cm - 24.3cm) | TBPAV-01 | TBPAZ-01 |
| Medium (17.6cm – 28.2cm) | TBPAV-02 | TBPAZ-02 |
| Large (20cm – 32cm) | TBPAV-03 | TBPAZ-03 |

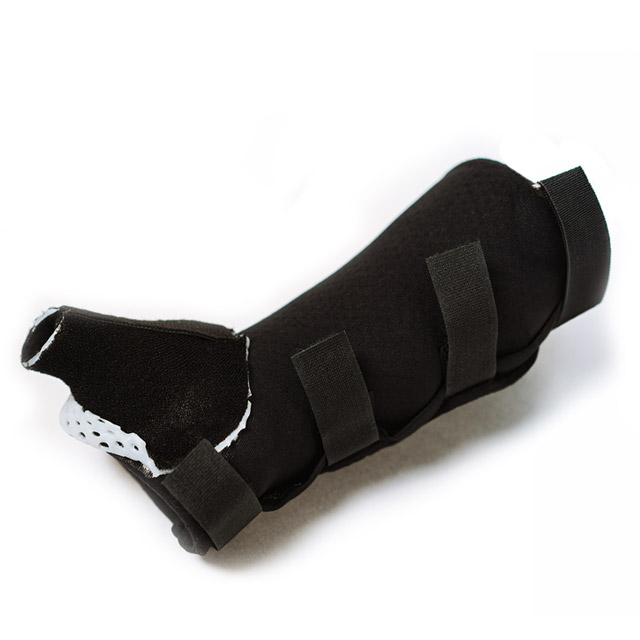
STEP 1:
Heat the brace between 67° and 108° (152°F and 225°F) until it becomes soft and elastic. The plastic must feel doughy when pinched between two fingers.
STEP 2:
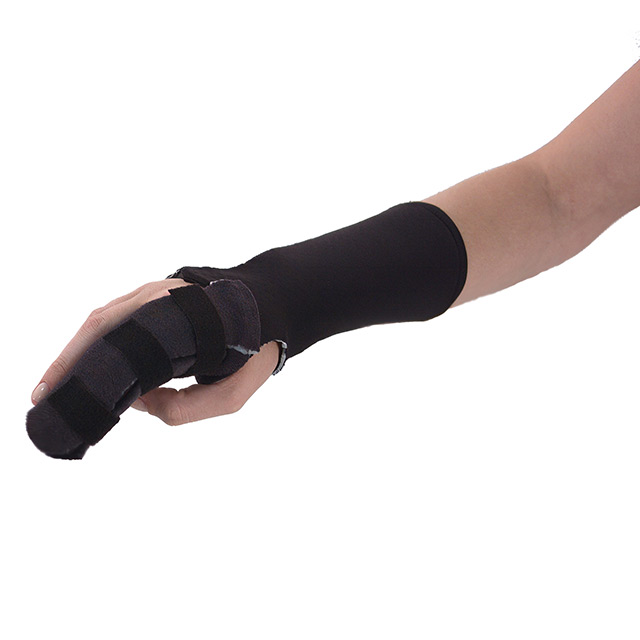
Once the brace has become soft and elastic, you can drape the brace on the body. Make sure that the temperature of the brace is not too hot for comfort or at risk of burning your patient. Small padding, about 3 mm (1/8”), can be placed at the bony apex and removed after the molding.
STEP 3:
Place your patient in the desired position and wait for the brace to harden. To avoid rippling of the zipper, keep a tension on the top end of the zipper, or on both ends.
| Universal (cm) | Product SKU |
|---|---|
| Finger (13W-15L) | EDUA |
| Universal (cm) | Product SKU |
|---|---|
| Thumb | EPUA |
You can place the add-on according to the need:
Wrap the add-on around the thumb: